- Published on
Devlog #58 - React Native & Expo
A few years ago, Capacitor https://capacitorjs.com/ was the go-to framework for many cross-platform apps, including the Burger King app. If you used the Burger King app even a month ago, you probably ran into just how buggy and frustrating it could be. Ionic even published a blog post in 2021 highlighting their involvement in building Burger King's design system with Capacitor (https://ionic.io/resources/articles/burger-king-design-system ). After years of user complaints and poor app performance, companies like Burger King have begun moving away from Capacitor in favor of more stable, performant solutions like React Native https://reactnative.dev/showcase.
So let's dump the test Capacitor project I initially setup in January and go full speed ahead with React Native for our iOS and Android versions of FO2! We'll need to setup authentication, character creation, and then finally load the game code into a WebView.
Since React Native can still get messy with native configuration, I decided to use Expo https://docs.expo.dev to handle all the builds, permissions, and updates. That way I can skip dealing directly with Xcode and Android Studio entirely and jump straight into porting the authentication, character creation, and loading/running the game client code.
Since we'll need authentication for Google, Apple, and Discord, I picked a few React Native packages that work nicely with Expo.
For Google sign-in, I'm using @react-native-google-signin/google-signin. It's well-supported, easy to set up, and works perfectly on both iOS and Android. To get Google authentication working, I had to set up a Google Play Console account, configure OAuth in the Google Cloud Console, and generate OAuth credentials to link with Expo. Once done, the Google auth integration worked seamlessly.
For Apple, I'm using @invertase/react-native-apple-authentication, which also integrates cleanly into Expo and React Native builds. Apple login requires setting up an Apple Developer account, configuring Sign-In with Apple capability in App Store Connect, and creating the required keys and identifiers. It’s straightforward once those steps are done, and it works smoothly out-of-the-box.
Discord doesn't have a dedicated Expo package, so for that one I'm using expo-auth-session, Expo's built-in OAuth2 solution. OAuth2 lets your app securely authenticate users through third-party providers like Discord without storing passwords directly. To use this, I set up a Discord application in the Discord Developer Portal, configured OAuth2 permissions, and plugged the resulting client credentials into Expo. Expo's implementation makes handling OAuth2 easier, reducing bugs and helping me quickly get authentication working without a lot of extra boilerplate.
With authentication sorted, the next major pain was figuring out how to build, sign, and submit the app to the Apple App Store and Google Play. Normally, setting this up manually is awful. You have to deal with provisioning profiles, certificates, and code signing for iOS, and keystores for Android. Then after building locally, you still have to manually upload the builds, manage versioning, and fill out store submission forms. It's messy and takes forever.
Expo simplifies this dramatically through their cloud service, EAS (Expo Application Services). After some initial setup, EAS handles all the signing, building, and submission automatically in the cloud. To kick off builds for both iOS and Android and auto-submit directly to each store, all I have to do now is run one command:
eas build --platform all --profile production --auto-submit
That command builds the apps in Expo’s cloud, signs them properly for each platform, and automatically submits them to each store without me having to manually upload anything.
Once submitted, Apple and Google review the builds before they're available to testers. Apple’s review for TestFlight usually takes about 1–2 days. Google Play offers internal, closed, and open testing tracks, with internal tests typically available almost immediately, and closed or open testing usually within a few days.
This setup greatly simplifies pushing updates to testers, letting me focus more on the game and less on build configuration.
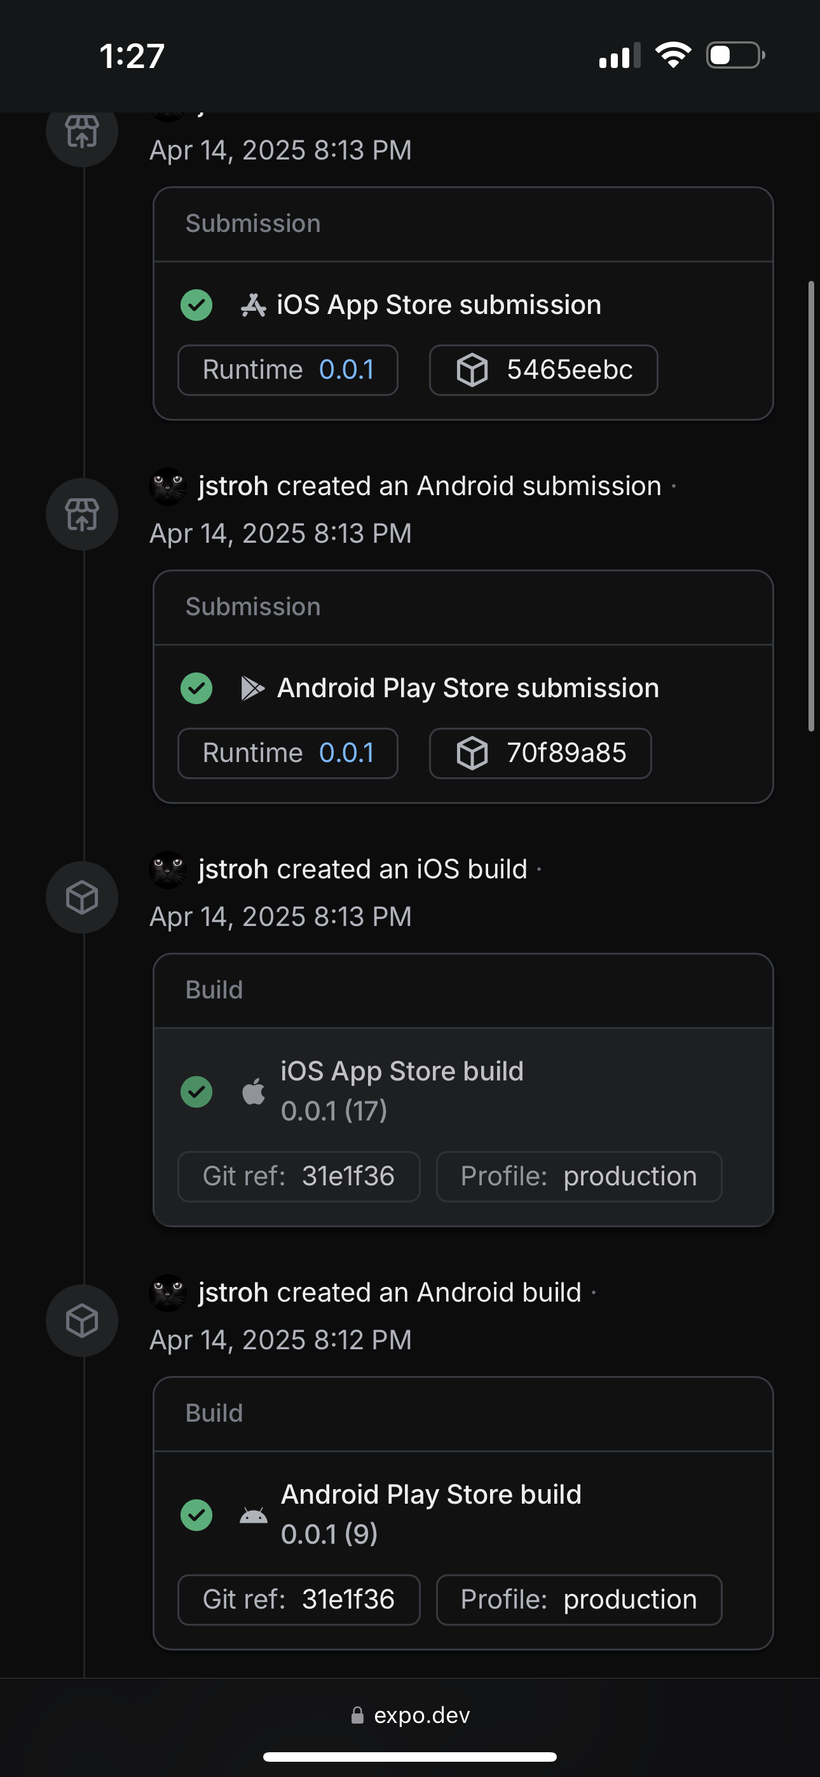 This is FO2’s eas build dashboard. Each build takes about 15 minutes to finish and then about 5 more minutes to submit builds to the app stores which then takes anywhere from 5 to 30 minutes to process the build before it’s available for testing distribution. Needless to say eas is my new best friend as this whole process was pretty time consuming back in the dark days of app development in the 2010s.
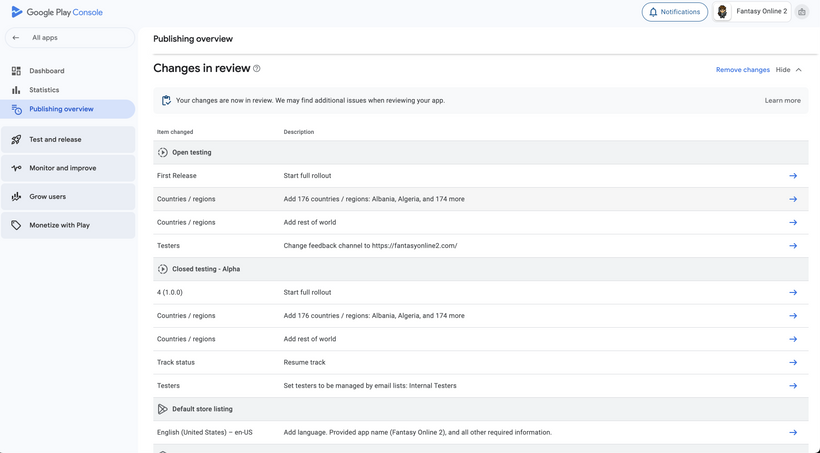 Here's a quick look at what the Google Play Console looks like for FO2. We're currently waiting for Google to review and approve Open Testing distribution.
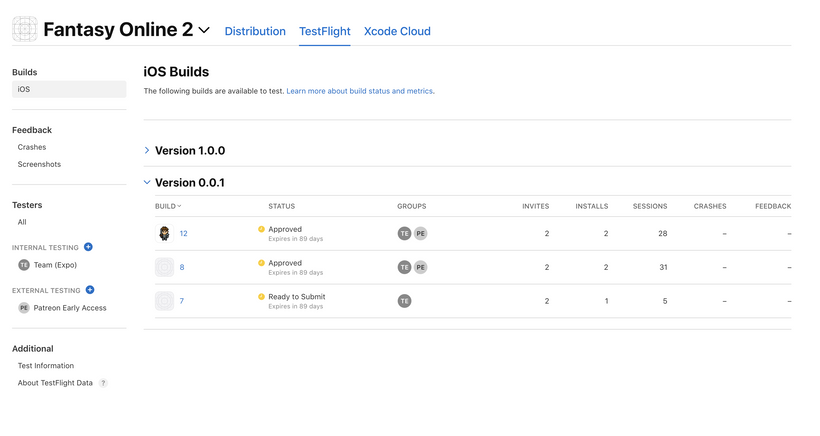 And here's what FO2's Apple App Store Connect looks like. Apple has already reviewed and approved FO2 for TestFlight distribution.
So with all that setup, we can now focus on the React GUI for authentication, character creation, character selection, and finally getting into the game.

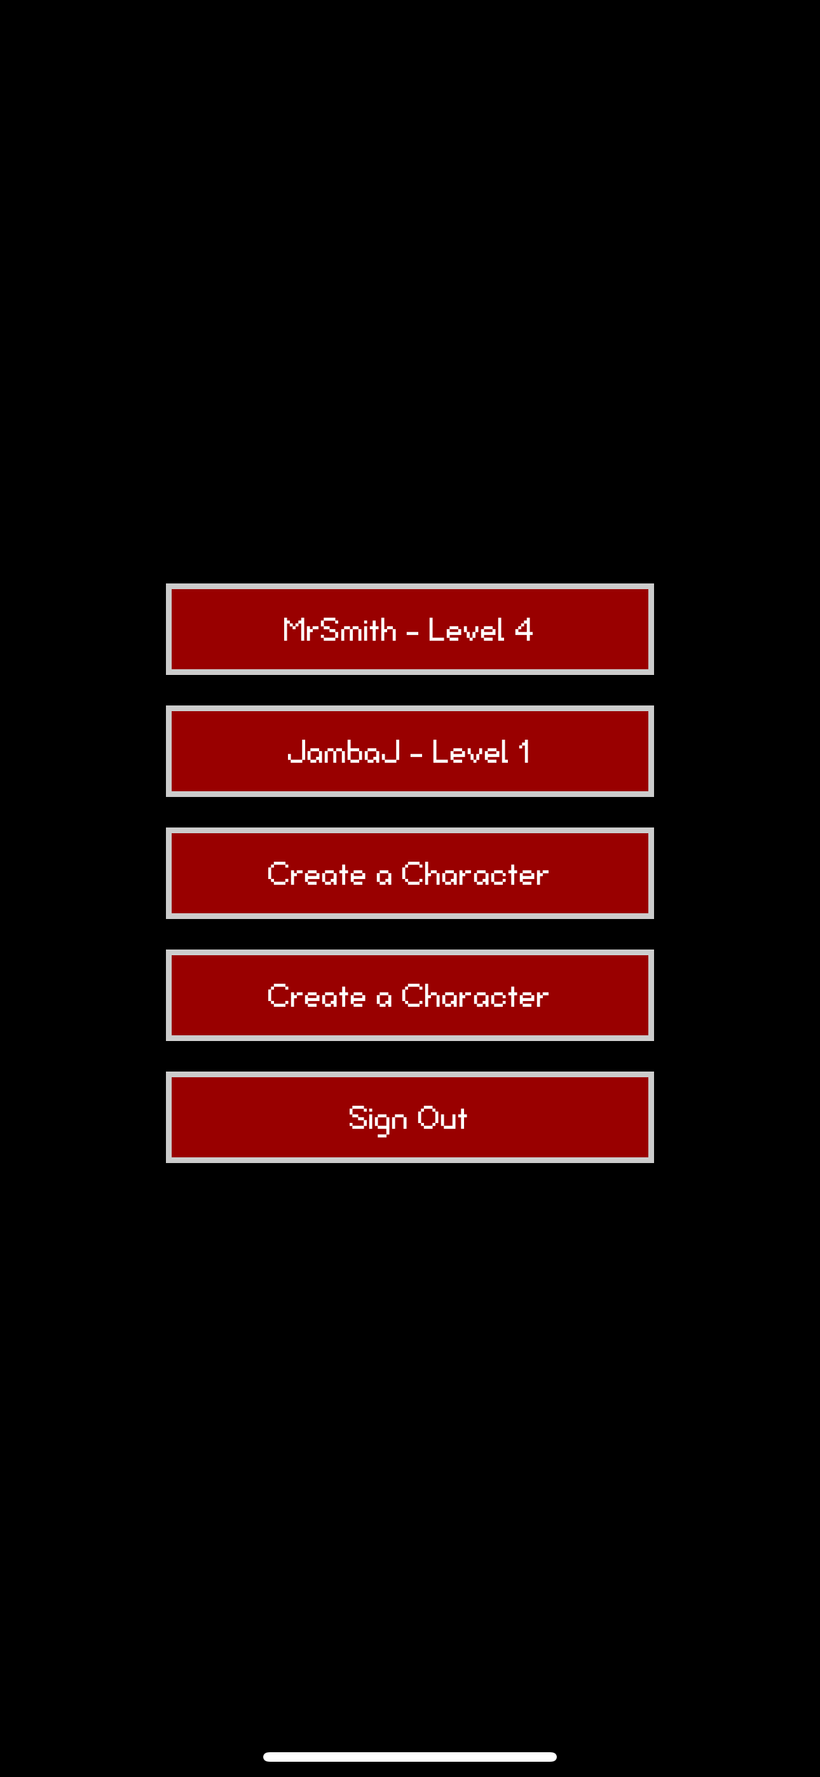
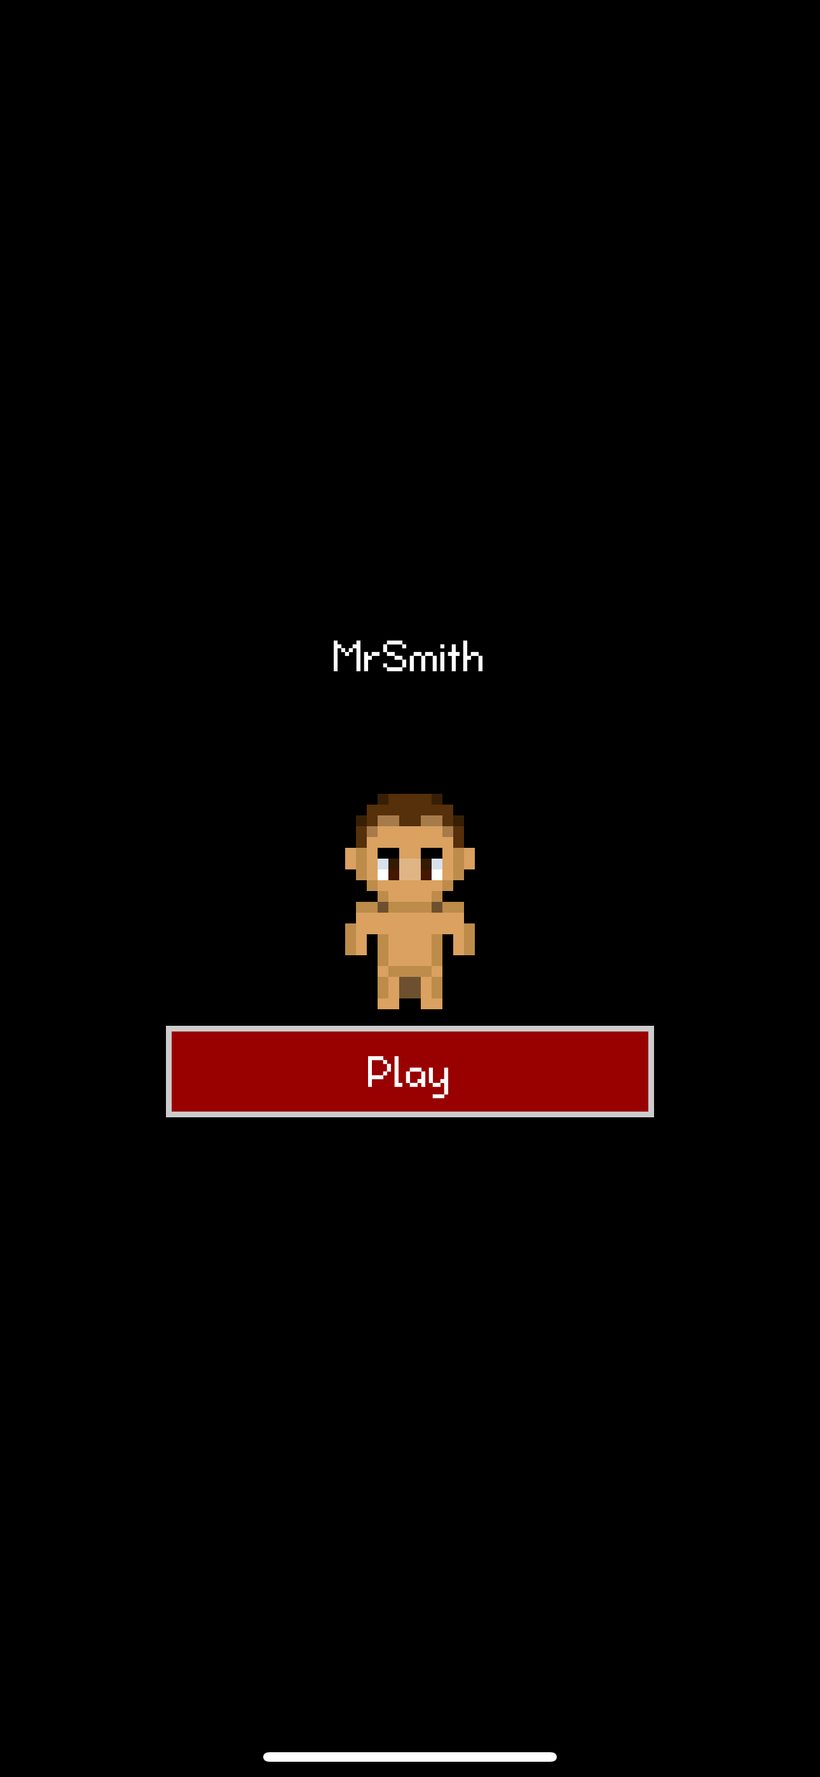
Here’s what the current eas build installed from TestFlight looks like on my iPhone. Touching these buttons uses all the authentication code we setup earlier.

 The React code supports both landscape and portrait and it looks almost identical to the main site and Steam versions of the game.

 We still need to add the back button but the character view screen now looks identical to what we have on the web and Steam. Now it's time to get the game up and running!
Just like the web and Steam versions, we download the build file:
https://game.fantasyonline2.com/build.json?t=1745093968809
"buildNumber": 1744760893707,
"hash": "8/qupGoYEWjl6xeHRXT05zwBTlduR0PKwt/fDyamYzo="
This little file gives us the build number and the file hash of the actual game code. We then use this to download the game:
https://game.fantasyonline2.com/main.js?build=1744760893707
If you open that url you'll see most of the game client code! Here's your chance to be a Haxxor.
With the game obfuscated and minified Javascript downloaded we can then load it along with all our authentication information into a React Native WebView and we'll be in game.
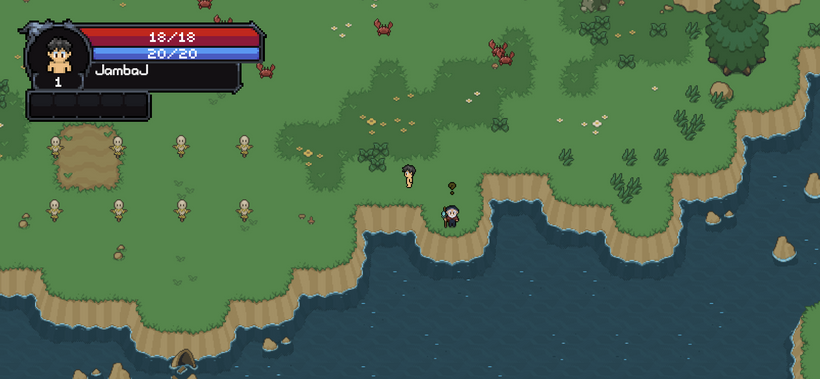 It's alive!
Now I'll start working on getting bags, skills, and more windows up and running on mobile. This was the most difficult part of mobile so we're off to the races now!
After some research into phone capabilities I've decided on the following for min specs:
iPhone 12 and greater running iOS 17 and greater.
Android 10 and later with a min phone target of a Galaxy s10.
The Galaxy S10 has the smallest screen size we’re targeting, so that becomes our baseline at 360×760. That means our dynamic window code will now assume a minimum width of 360. When you're building for mobile, you're not designing for the full resolution—you're working with a smaller canvas, measured in logical pixels. Modern phones scale that canvas up using a pixel ratio, where each canvas pixel maps to multiple physical pixels on the screen. So even though we're working with 360 pixels in width, a pixel ratio of 4 means each of those is scaled to 4 actual pixels, keeping things sharp without changing the layout.
TestFlight is now available for all iPhone users:
https://testflight.apple.com/join/C87yj5vZ
Android will be available as soon as Google approves our first build:
https://play.google.com/apps/testing/com.fantasyonline2.fov4
Once you download FO2 for the first time on mobile you will be able to update to new builds as soon as they're available!
Patreon subscription is currently required to play on mobile.
Have Fun, Keep Gaming, and see you next patch notes!